Mealworms are the larvae of the darkling beetle with very high proteins for your livestock
Mealworm combined with sukuma and green vegetables produce yellow yolked eggs and kienyeji tasting chickens
Mealworms (also known as Tenebrio molitor) are in fact insects. They are scavengers that can be found in grain stores, feed sacks and occasionally household items such as cereal and flour. They like dark, dry places that store grain or other edibles such as flour or chicken feed.
All the nutrition and water they need for surviving and thriving can be extracted from the grain which they have infested.
If you are looking for a way to raise your own protein cheaply, easily, and with almost no space or infrastructure, look no further than mealworms. When food is scarce, you’ll want livestock that are efficient, take up small spaces, and can easily be hidden.
A female beetle will lay up to five hundred eggs during her short lifetime of a couple of months. After a couple of weeks, the eggs will hatch and become larvae – which we know as a mealworm.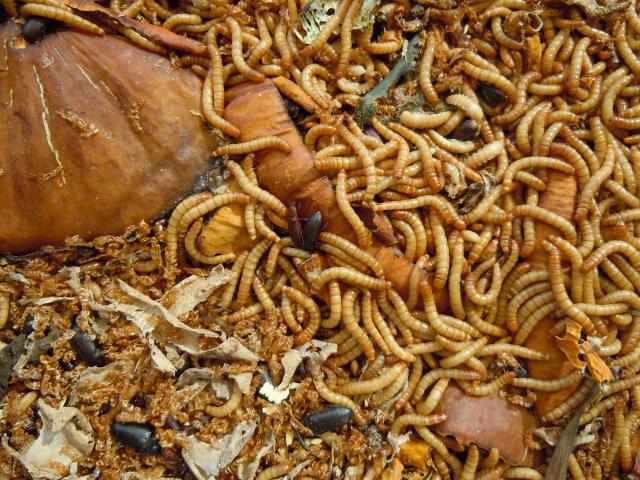
Mealworms molt their exo-skeleton several times before they reach the pupa stage after approximately 3 months.
The pupa basically looks like a dead mealworm but it is busy transforming itself into a Darkling beetle. The only movement you will see is an occasional twitch if the pupa is disturbed. It does not eat or take nutrition during this period. It will remain a pupa for about 2-3 weeks before hatching into a brown beetle that over a period of days will turn a black color. The complete lifecycle can be done in as little as 5-6 months in ideal circumstances.
How to Make a Mealworm Farm
Step 1: Find a Container. plastic storage or similar item will do
The chosen container will need a lid or screen mesh to put over the top. The lid needs to allow for some air circulation through the container.
Use a transparent container to see what’s going on inside and get a feel for how quickly they are developing.
Step 2: Prepare Your Container. Thoroughly clean and dry your container
Any location you do choose needs to be a warm (the ideal temperature is 26C), low light/ dark environment.
Step 3: Add Your Substrate
For the feed you can use wheat bran. If you can’t use wheat bran then rolled oats, chicken mash or cereal crumbs will also work.
Note: Don’t get your substrate (bran etc.) wet; you don’t want a moldy environment.
Step 4: Add Mealworms to Your Farm
You now need to add mealworms into your container, the more the better! You should aim to start with at least 500.
Step 5: Feed Them and Let Them Grow
You now just need to keep your mealworms fed and let them grow and multiply.
You can feed them as much as you like, remember: more food means the more they multiply.


Step 6: Collect Your Mealworms
Depending on the conditions you have provided for your insects, it will take a few months before you can start feeding the larvae to your hens. You should only feed the worms to your hens, the pupae and beetles should be left in the farm to reproduce.
Don’t worry about removing dead beetles, the larvae will do that for you. Do, however, remove any bits of moldy food and discard it.
Do you have a question?
Incoming search terms:
- chicken drinkers in kenya
- kuku kienyeji farming
- kenya poultry college
- kenya chicken feed price cost
- kenchick kenya one day old chick prices
- kenchic broilers consultant contacts
- images of kuku boiler chickss only
- dorep chicken rearing guide
- darkling beetle rearing in kenya
- poultry mar institutions in Kenya
The post Mealworm farming for you Kienyeji taste appeared first on Ecochicks Poultry Ltd 0727087285.